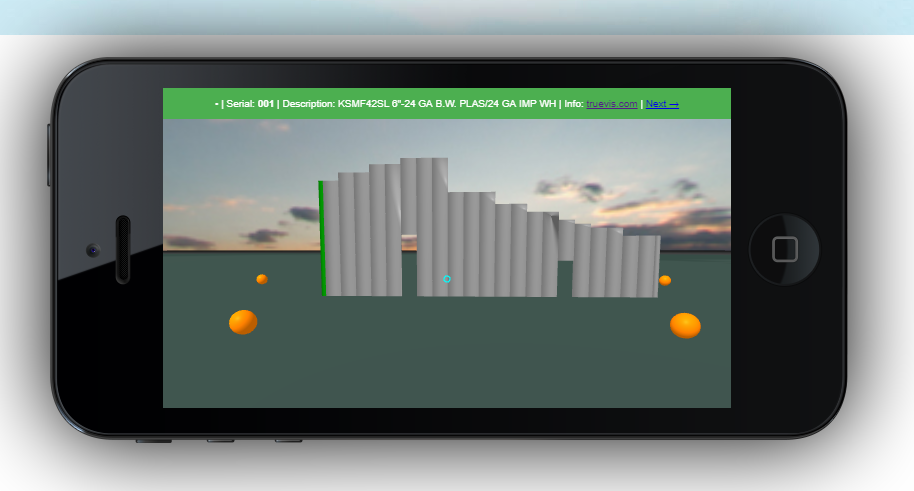
Create WebVR 3D Assembly Instructions
At the DESIGN TOOLS OF THE FUTURE: Immersive & Interactive Hackathon, I made an authoring environment to create working prototype of a way to express assembly instructions in 3D using WebVR.
In this sample scenario, insulated wall panels are delivered to a construction site. Each panel would have a sticker on it that includes a QR code.
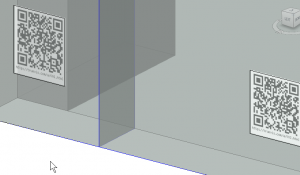
The construction worker would scan the QR code with a mobile device and see a web page that would show in 3D where the item needs to be placed.
How the presentation was made
Starting with selecting elements in Revit, a Dynamo graph is used for making the content (OBJs) and writing A-frame HTML code.
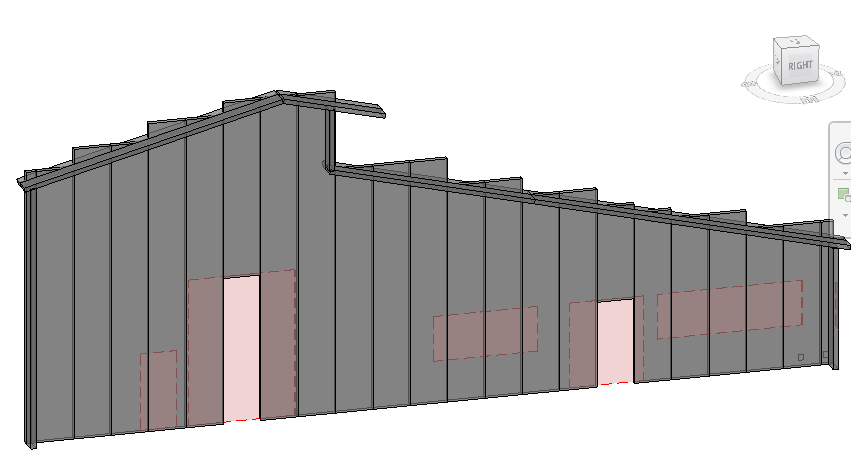
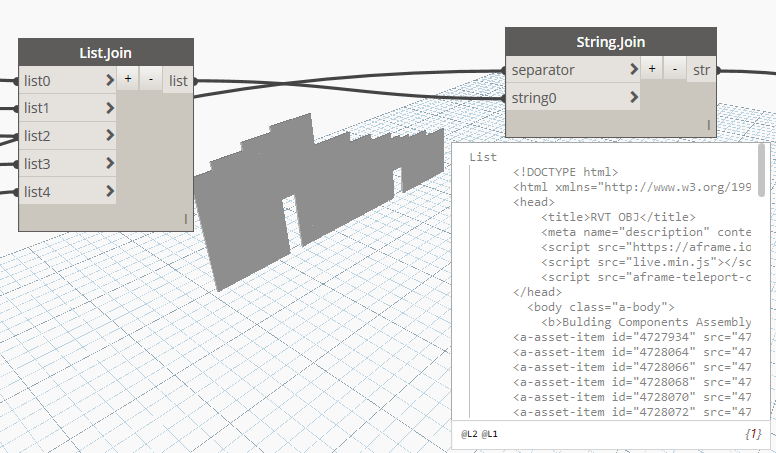
Once the content and code are uploaded to a web server, it is all viewable with any modern web browser.
QR codes
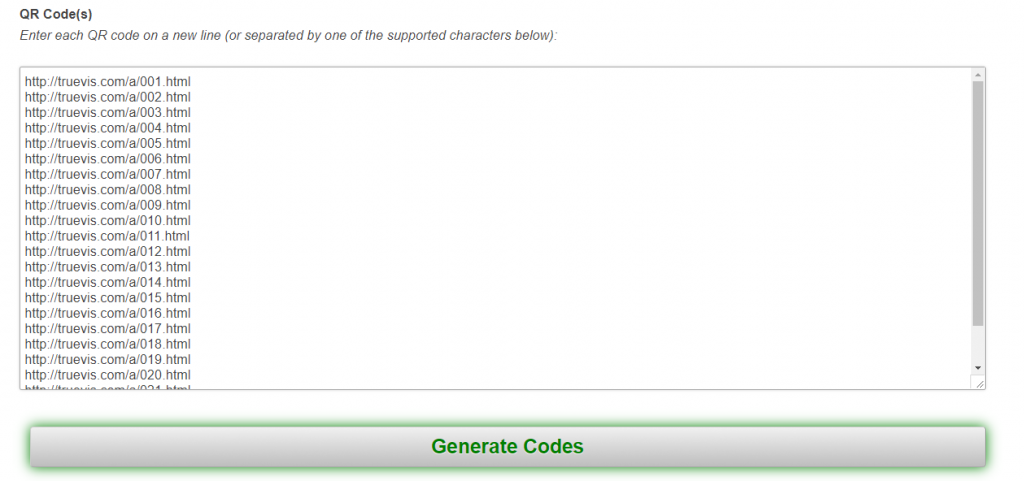
A Dynamo graph also makes a text file with a URL for each element to paste into the QR code generating website.
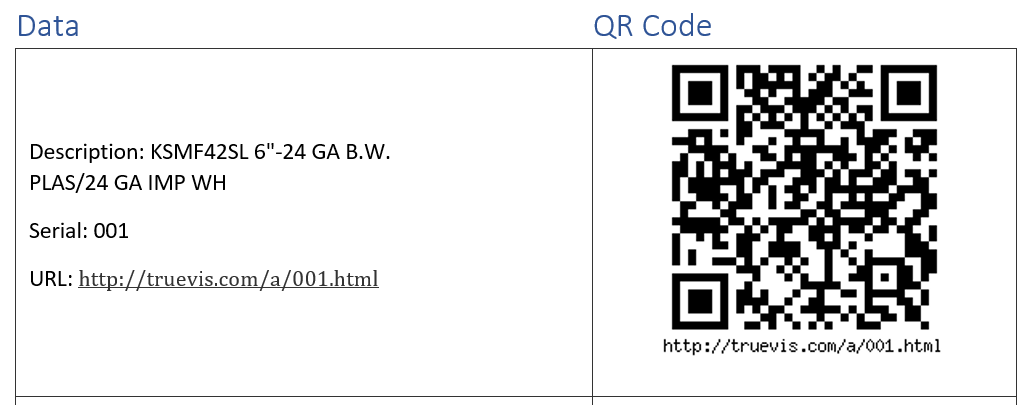
Labels were authored in MS Word with the generated data.
One Web Page For Each Item Showing Where It’s Placed In The Overall Assembly
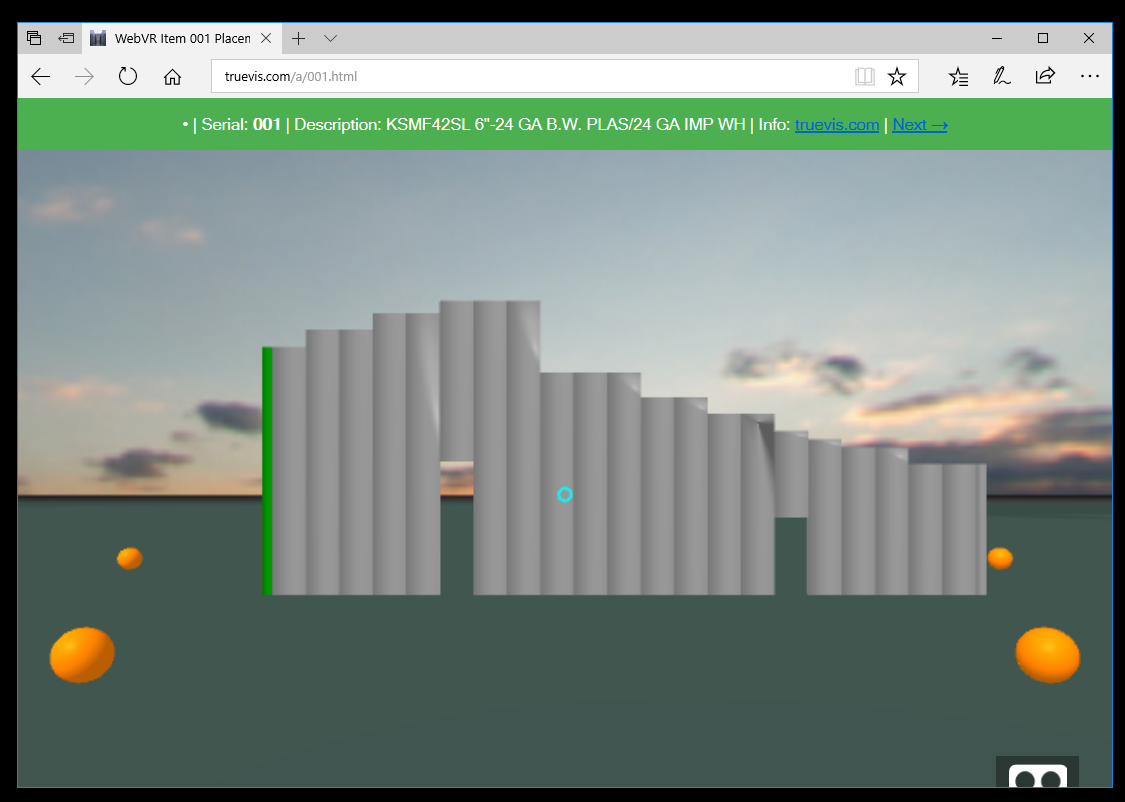
In this prototype, there is one web page for each assembly item. The first QR code, which would be incorporated into a label placed on the actual item, leads to this web page:
Visit the 1st item’s Web page (This may not work properly in mobile browsers because A-frame and mobile browsers have changed since those web pages were written in 2017)
Navigation is done by focusing the blue cursor on one of the orange spheres, which will move the view’s camera position. In a desktop browser, the view may also be navigated by using WASD keys.
Tools
- Revit with Dynamo for generating the 3D content and A-frame HTML
- https://qrexplore.com/generate for generating QR codes
- MS Word for printing QR Codes
